
Is there anything that embodies the warmth and joy of the holidays quite like the aroma of gingerbread? The scent alone evokes memories of crackling fireplaces, twinkling lights, and shared moments with loved ones. This year, bring that magic into your kitchen with these unbelievably soft and flavorful Gingerbread Bliss Rolls.
We’re diving deep into creating a truly special treat, and exploring a range of Christmas dessert recipes is a wonderful way to celebrate the season. These aren’t just any rolls; they’re a delightful combination of classic gingerbread spice and a luscious cream cheese frosting, guaranteed to be a crowd-pleaser.
Whether you’re looking for impressive holiday baking ideas to wow your guests or simply want a comforting dessert to enjoy with family, these rolls deliver on all fronts. They’re surprisingly easy to make, even for beginner bakers, and the resulting sweetness is well worth the effort. Plus, they’re perfect for making ahead, freeing you up to enjoy the festivities.
Ingredients & Supplies
For the Gingerbread Dough:
- 3 ½ cups (420g) all-purpose flour, plus more for dusting (Gluten-free blend can be substituted 1:1, but may require a touch more liquid)
- 2 ¼ teaspoons (1 packet) active dry yeast
- ¼ cup (50g) granulated sugar
- 1 teaspoon salt
- 1 cup (240ml) warm milk (105-115°F / 40-46°C) – Dairy-free milk alternatives like almond or oat milk work well.
- ¼ cup (57g) unsalted butter, melted and cooled slightly
- 1 large egg, lightly beaten
- 2 tablespoons molasses (not blackstrap – use a lighter variety for best flavor)
- 1 ½ teaspoons ground ginger
- 1 teaspoon ground cinnamon
- ½ teaspoon ground cloves
- ¼ teaspoon ground nutmeg
For the Cream Cheese Frosting:
- 8 ounces (226g) cream cheese, softened (Vegan cream cheese alternatives are available)
- ½ cup (113g) unsalted butter, softened
- 3 cups (360g) powdered sugar, sifted
- 1 teaspoon vanilla extract
- Pinch of salt
Kitchen Tools Required:
- Large mixing bowl or stand mixer with dough hook attachment
- Measuring cups and spoons
- 9×13 inch baking pan
- Plastic wrap
- Rolling pin
- Sharp knife or pizza cutter
- Small saucepan (for warming milk)
- Electric mixer (for frosting)
- Rubber spatula
- Parchment paper (optional, for easier removal)
Prep & Cooking Schedule

- Prep Time: 30 minutes (plus 1.5-2 hours for rising)
- Cook Time: 20-25 minutes
- Resting Time: 10 minutes (after baking, before frosting)
- Total Time: Approximately 2 hours 40 minutes – 3 hours
- Serving Size: 12-16 rolls
- Difficulty Level: Easy-Intermediate
This recipe is fantastic for a weekend baking project. The dough requires two rising periods, so plan accordingly. Warming the milk to the correct temperature is crucial for activating the yeast – too hot and you’ll kill it, too cold and it won’t rise properly. The first rise takes about an hour, the second about 30-60 minutes. Don’t rush the rising process; it’s key to achieving those incredibly soft rolls. Thinking about Christmas dessert recipes often involves planning ahead, and this one is no exception! These rolls are a great addition to any collection of holiday baking ideas.
Step-by-Step Instructions
1. Activate the Yeast: In a large mixing bowl, combine warm milk, sugar, and yeast. Let stand for 5-10 minutes, until foamy. This confirms your yeast is alive and active.
2. Combine Wet Ingredients: Add melted butter, egg, and molasses to the yeast mixture. Whisk until well combined.
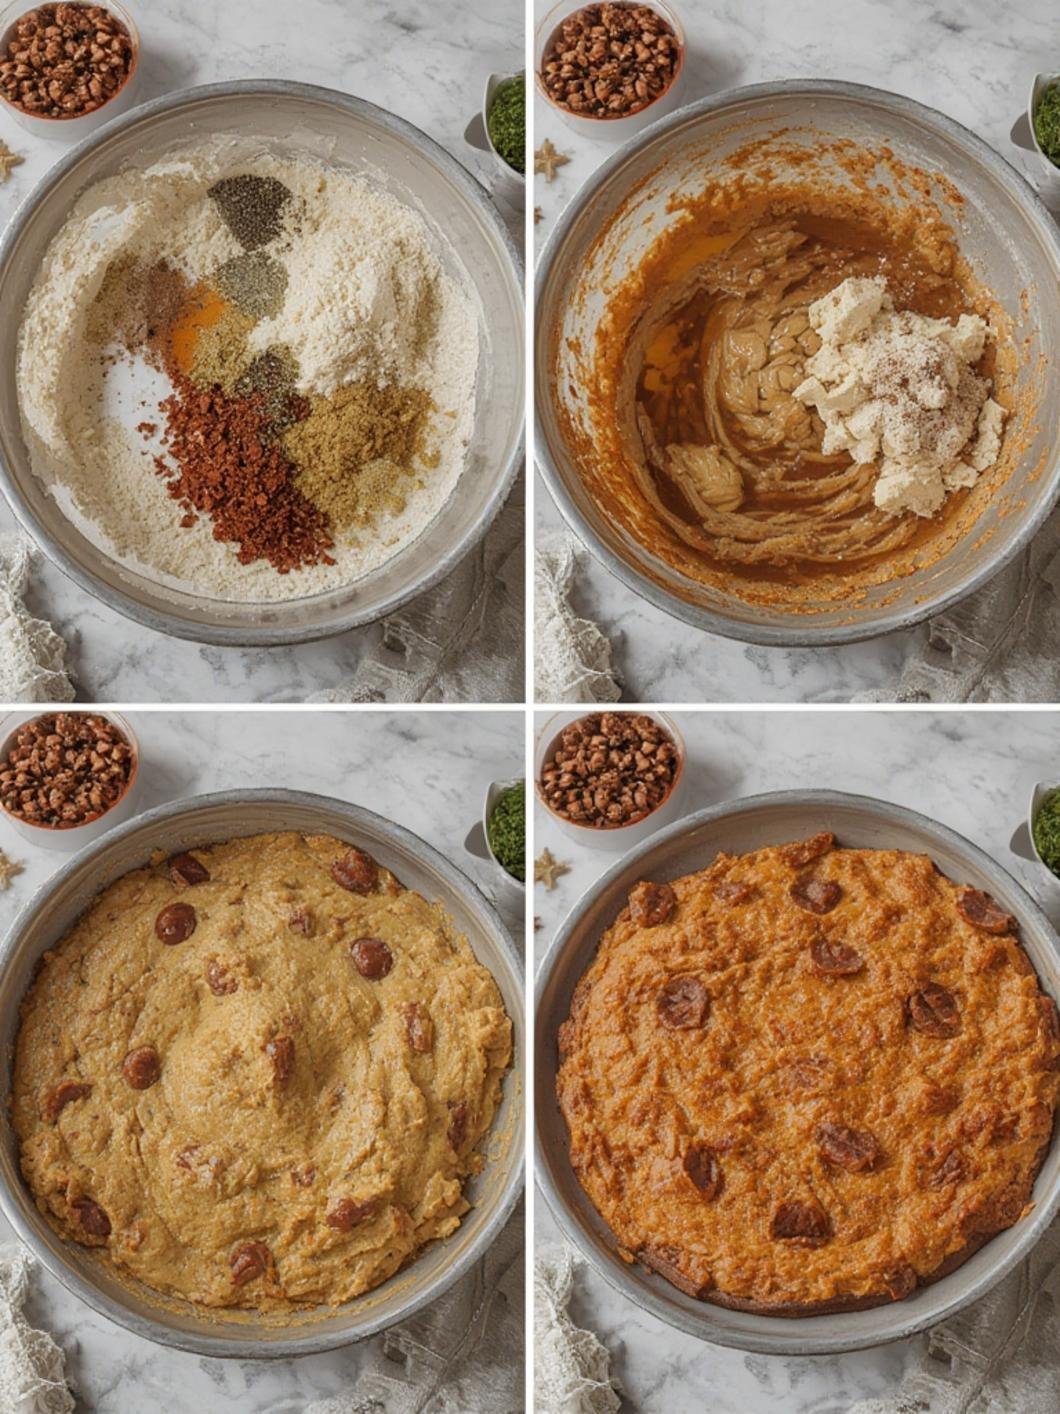
3. Add Dry Ingredients: In a separate bowl, whisk together flour, salt, ginger, cinnamon, cloves, and nutmeg. Gradually add the dry ingredients to the wet ingredients, mixing until a shaggy dough forms.
4. Knead the Dough: Turn the dough out onto a lightly floured surface and knead for 5-7 minutes, until smooth and elastic. Alternatively, use a stand mixer with a dough hook and knead for 4-5 minutes. The dough should be slightly tacky but not overly sticky.
5. First Rise: Place the dough in a lightly greased bowl, turning to coat. Cover with plastic wrap and let rise in a warm place for 1-1.5 hours, or until doubled in size.
6. Roll and Fill: Gently punch down the dough to release the air. On a lightly floured surface, roll the dough into a 12×18 inch rectangle.
7. Shape the Rolls: Cut the dough into 12-16 equal strips. Arrange the strips in the prepared baking pan.
8. Second Rise: Cover the pan with plastic wrap and let rise for another 30-60 minutes, until puffy. When considering Christmas dessert recipes, remember that a good rise is essential for a light and airy texture. These rolls are a fantastic example of successful holiday baking ideas when the dough is given the time it needs.
9. Bake: Preheat oven to 350°F (175°C). Bake for 20-25 minutes, or until golden brown and a toothpick inserted into the center comes out clean.
10. Cool & Frost: Let the rolls cool in the pan for 10 minutes before transferring them to a wire rack to cool completely. While the rolls are cooling, prepare the cream cheese frosting. Beat cream cheese and butter together until smooth and creamy. Gradually add powdered sugar, beating until light and fluffy. Stir in vanilla extract and salt. Once the rolls are cool, generously frost them with the cream cheese frosting.
Nutritional Benefits / Advantages
These Gingerbread Bliss Rolls, while a delightful indulgence, can offer some nutritional benefits. Molasses, a key ingredient, is a good source of iron, calcium, and potassium. The use of whole wheat flour (as a partial substitution for all-purpose) can increase the fiber content, aiding in digestion. While the frosting contributes to the sugar content, enjoying these rolls in moderation as part of a balanced diet allows you to savor the flavors without guilt. The milk and egg provide protein, contributing to satiety.
Recipe Variations, Substitutions & Pro Cooking Tips
- Spicy Gingerbread: Increase the ground ginger to 2 teaspoons and add ¼ teaspoon of ground black pepper for a spicier kick.
- Cheesy Gingerbread: Add ½ cup of shredded cheddar cheese to the dough during the kneading process for a savory-sweet twist.
- Healthier Version: Substitute half of the all-purpose flour with whole wheat flour. Reduce the sugar in the dough by ¼ cup and use a sugar substitute in the frosting.
- Vegan Gingerbread Rolls: Use plant-based butter, vegan cream cheese, and a flax egg (1 tablespoon flaxseed meal mixed with 3 tablespoons water) in place of the egg. Ensure your milk is also plant-based.
- Pro Tip: For extra fluffy rolls, brush the tops with melted butter after the first rise.
- Small Kitchen Tip: If you don’t have a large mixing bowl, you can make the dough directly in the stand mixer bowl.
Common Mistakes to Avoid
- Overworking the Dough: Overkneading can result in tough rolls. Stop kneading when the dough is smooth and elastic.
- Incorrect Yeast Temperature: Ensure the milk is warm, not hot, to avoid killing the yeast.
- Under-Rising: Don’t rush the rising process. The dough needs sufficient time to develop flavor and texture.
- Overbaking: Overbaked rolls will be dry. Check for doneness with a toothpick and remove from the oven when it comes out clean.
- Frosting Too Soon: Allow the rolls to cool completely before frosting to prevent the frosting from melting.
Storage / Meal Prep & Reheating Tips
Leftover rolls can be stored in an airtight container at room temperature for up to 2 days or in the refrigerator for up to 5 days. For longer storage, freeze the rolls (frosted or unfrosted) for up to 2 months. To reheat, wrap individual rolls in plastic wrap and microwave for 15-20 seconds, or bake in a preheated oven at 325°F (160°C) for 5-10 minutes. Reheating in the oven will help restore some of the crispness. These rolls are excellent for meal prep – the dough can be made a day ahead and refrigerated after the first rise.
Conclusion
These Gingerbread Bliss Rolls are a testament to the magic of homemade baking. The combination of warm spices, a tender crumb, and a decadent cream cheese frosting creates a truly unforgettable dessert. Exploring different Christmas dessert recipes is a joy, but sometimes the classics, with a little extra love, are the best. These rolls are a perfect example of how simple ingredients and a little patience can result in stunning holiday baking ideas. Don’t be afraid to experiment with variations and make them your own! We hope you enjoy making and sharing these rolls with your loved ones. If you try this recipe, please share your photos and thoughts in the comments below! And be sure to explore our other festive recipes for more holiday inspiration.
FAQs
Q: Can I substitute the molasses for honey or maple syrup?
A: While you can experiment with honey or maple syrup, the flavor will be noticeably different. Molasses provides a unique depth and complexity that is essential to the classic gingerbread taste. If substituting, use the same amount and be aware the texture might be slightly altered.
Q: Can I make the dough for these rolls ahead of time?
A: Absolutely! You can prepare the dough up to 24 hours in advance. After the first rise, punch down the dough, wrap it tightly in plastic wrap, and refrigerate. Bring it to room temperature for about 30 minutes before rolling and shaping.
Q: How do I adjust the seasoning in the gingerbread dough?
A: Taste the dough (a small amount!) before baking. If you prefer a stronger ginger flavor, add another ¼ teaspoon. For more warmth, add a pinch more cinnamon. Remember, spices can intensify during baking, so start with small adjustments.
Q: Can these rolls be made in an air fryer?
A: While not traditionally baked in an air fryer, you can adapt the recipe. Reduce the baking time significantly (start with 8-10 minutes at 325°F/160°C) and check frequently for doneness. You may need to bake in batches depending on the size of your air fryer.
Q: My rolls came out a little dry. What did I do wrong?
A: Dry rolls are usually caused by overbaking. Ensure you’re checking for doneness with a toothpick and removing them from the oven as soon as it comes out clean. Also, make sure you haven’t added too much flour during kneading. A slightly tacky dough is preferable to a dry one.